OUR DIY LIVING ROOM BOOKSHELVES
I am so excited to share this with you today! I’ve been talking about building our new living room bookshleves for quite some time now and I am so happy that we finally have them finished. When we built our home 6 years ago, we had only built the bottom portion of these shelves – we debated going all the way up to the ceiling (it was a long debate that I lost), but in the end, we kept them only about 4-5 feet high. I always loved our shelves, but I knew that one day I wanted to maximize on the 11 feet of visual space that was just calling out for built-ins. So I finally convinced my husband that the time had come to add some serious value and wow factor to this room.
Affiliate links are provided throughout, or at the bottom of this post for your shopping convenience – see my full disclosure policy here.
 We have a smaller home, and using visual tricks to create the illusion of space is key. An open concept layout, continuous flooring throughout, natural light and high ceilings, all play a key role in helping to create that illusion. Our home has 9 foot ceilings everywhere, except in our living/family room, which has 11 foot ceilings. That two feet makes a huge difference. It was a worthwhile investment and one of the best decisions that we made when we built our home. Below is a before shot of the bookshelves, which I’ve shared previously, in my recent living room tour.
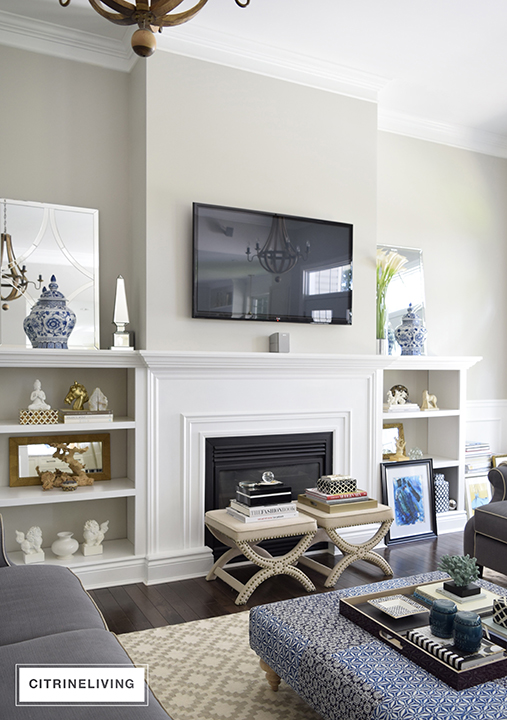 The shelves were beautiful before, the mirrors helped to create height and bounce the light around the space, but they just weren’t enough to create the look and feeling I was after. I knew that utilizing the full height of the room would truly finish them off and make the dramatic statement and focal point the space needed.
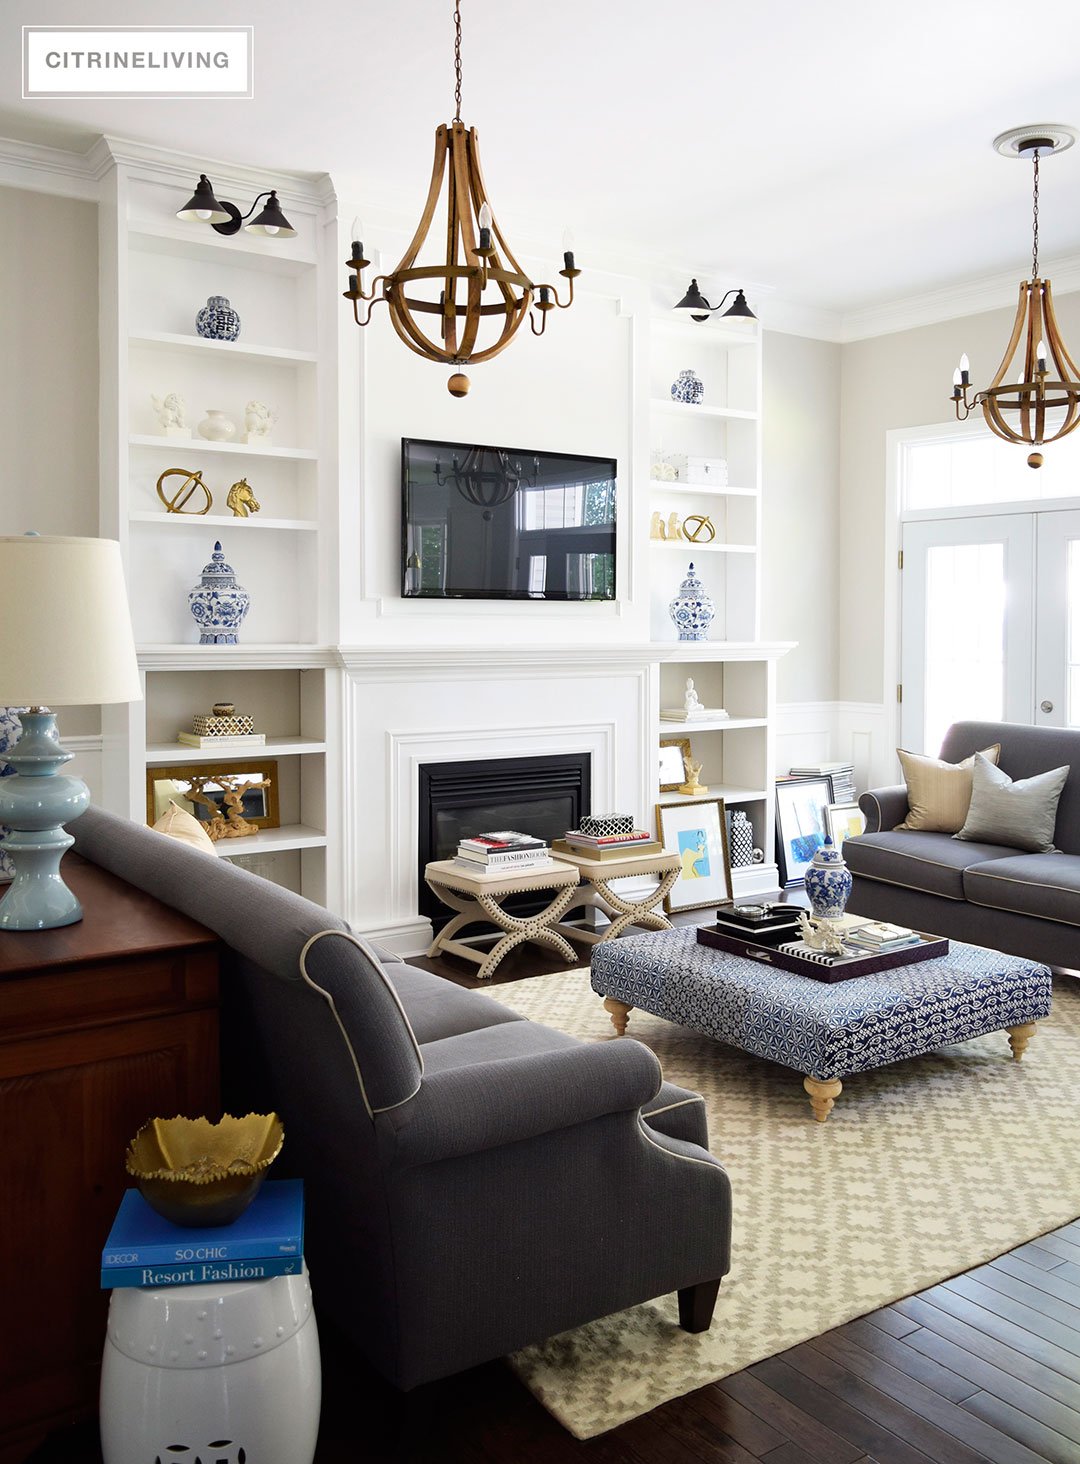
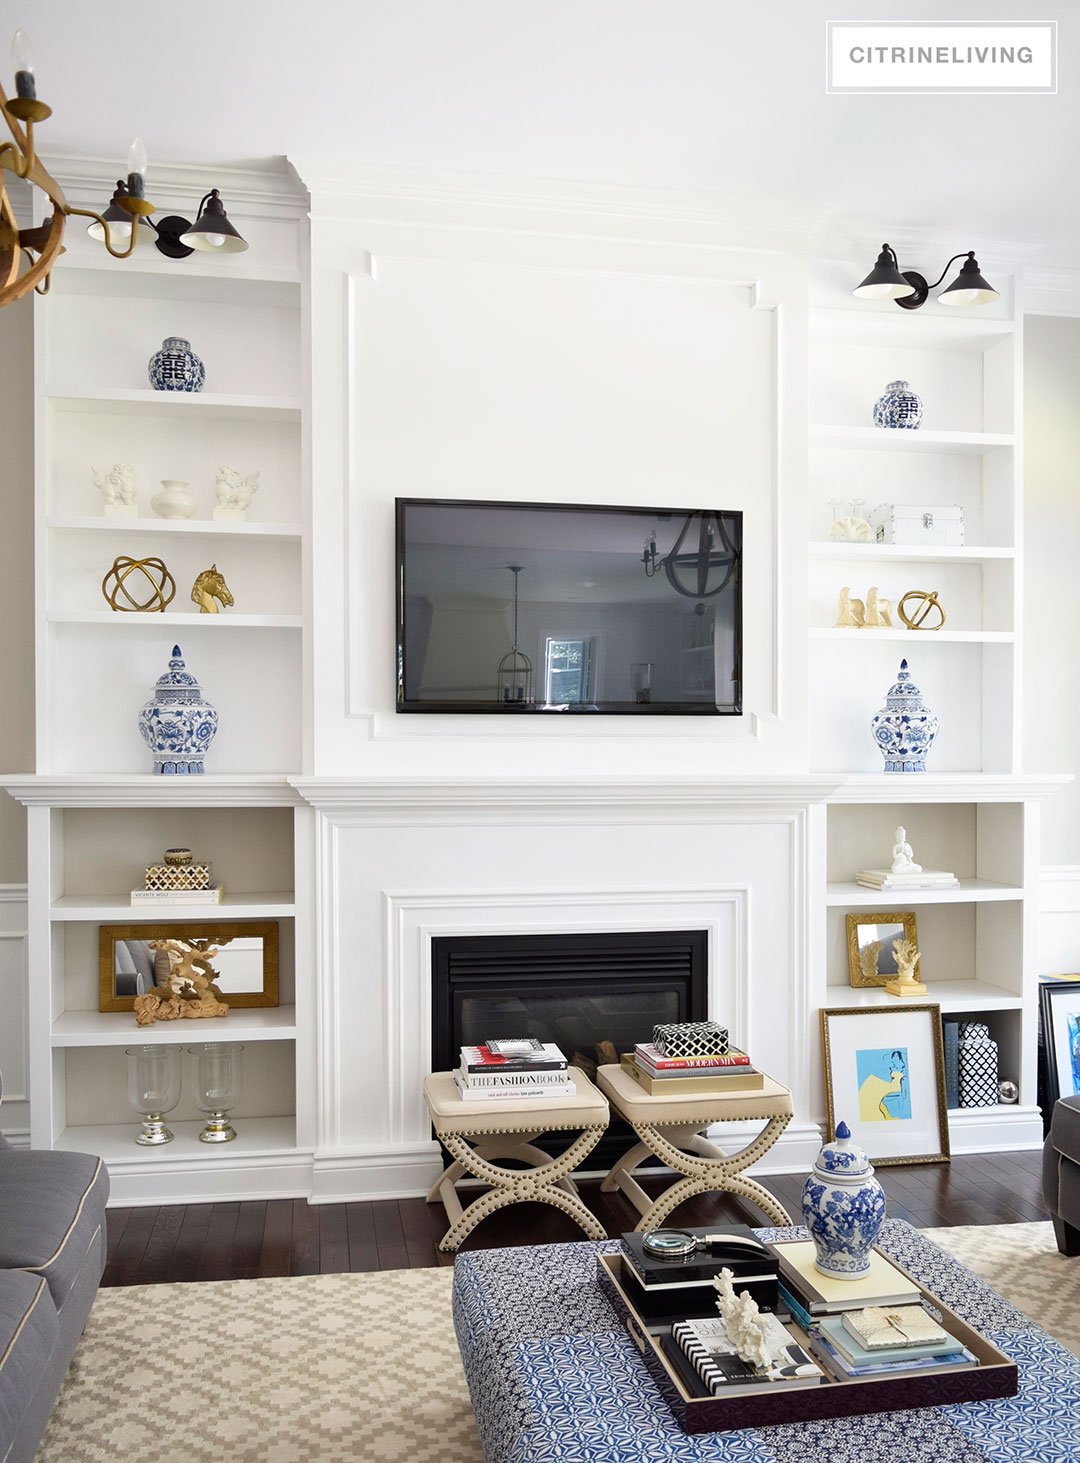
I LOVE open shelves and we have them in a few areas throughout our home. We recently added one in our kitchen, which you can read about here. It was such a fabulous addition and I can’t imagine our space without it now!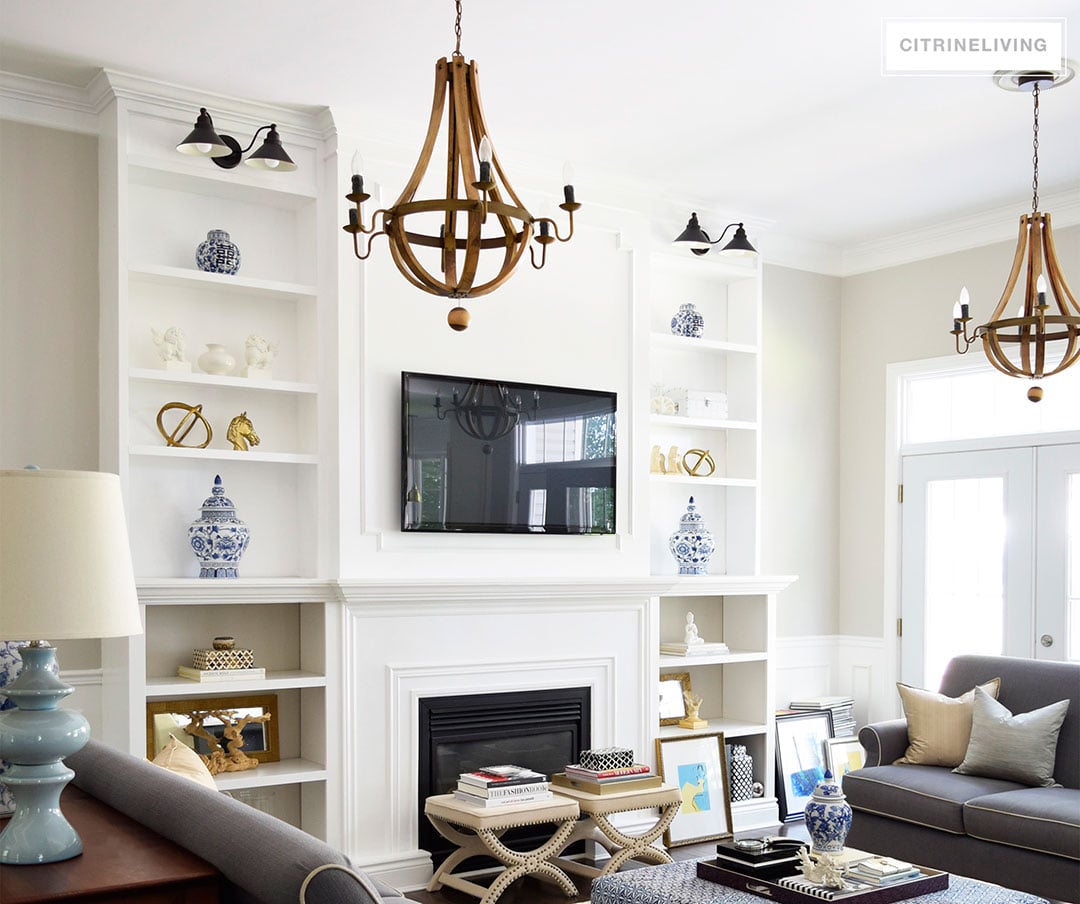 Adding wall sconces was a key component in the design of the shelves. Since they’re so tall, it was important to emphasize them even more, and draw your eye upward. I found these sconces for a great price, and for the tiny bit of extra money, they add tremendous value to these walls. They’re wired to the chandeliers and the work on the same switch, which has a dimmer – a very important detail in any home!
I can’t stress that enough. Almost every switch in our home is a dimmer switch. These lights especially need to be on one, since we watch TV here and the last thing you’d want is glaring lights at night when you’re relaxing, with or without the television on. They’re gorgeous when they’re lit at night and it adds such beautiful ambiance to our room.
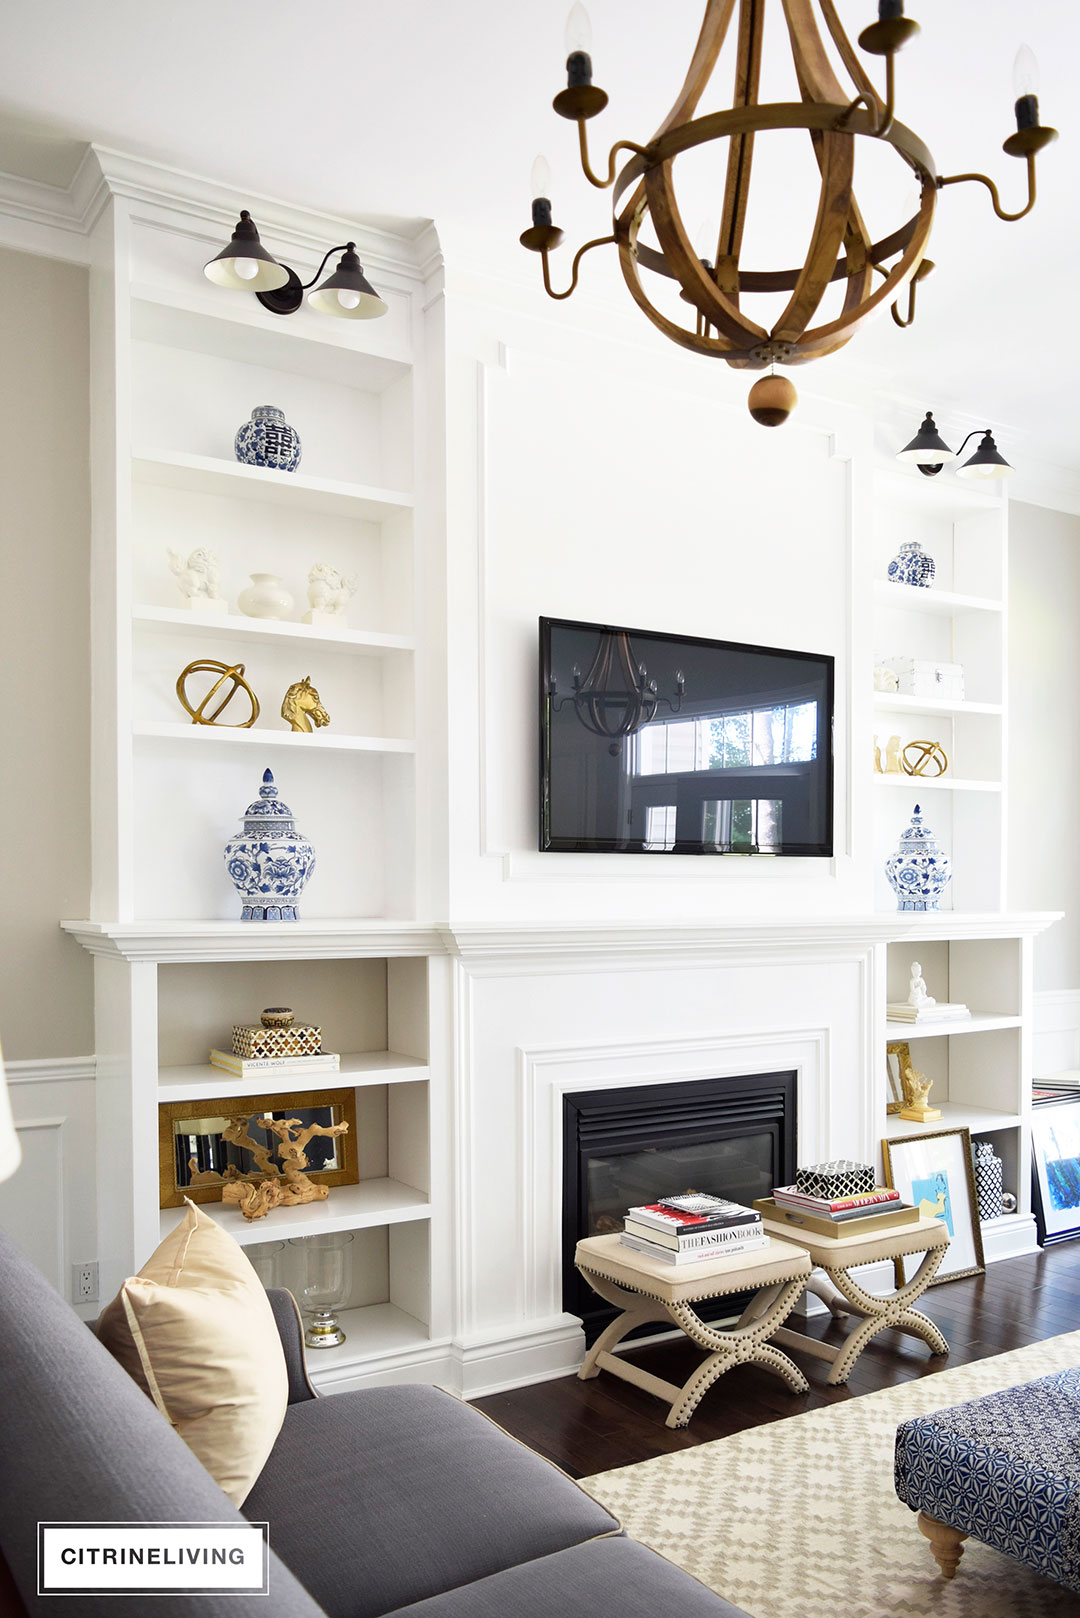
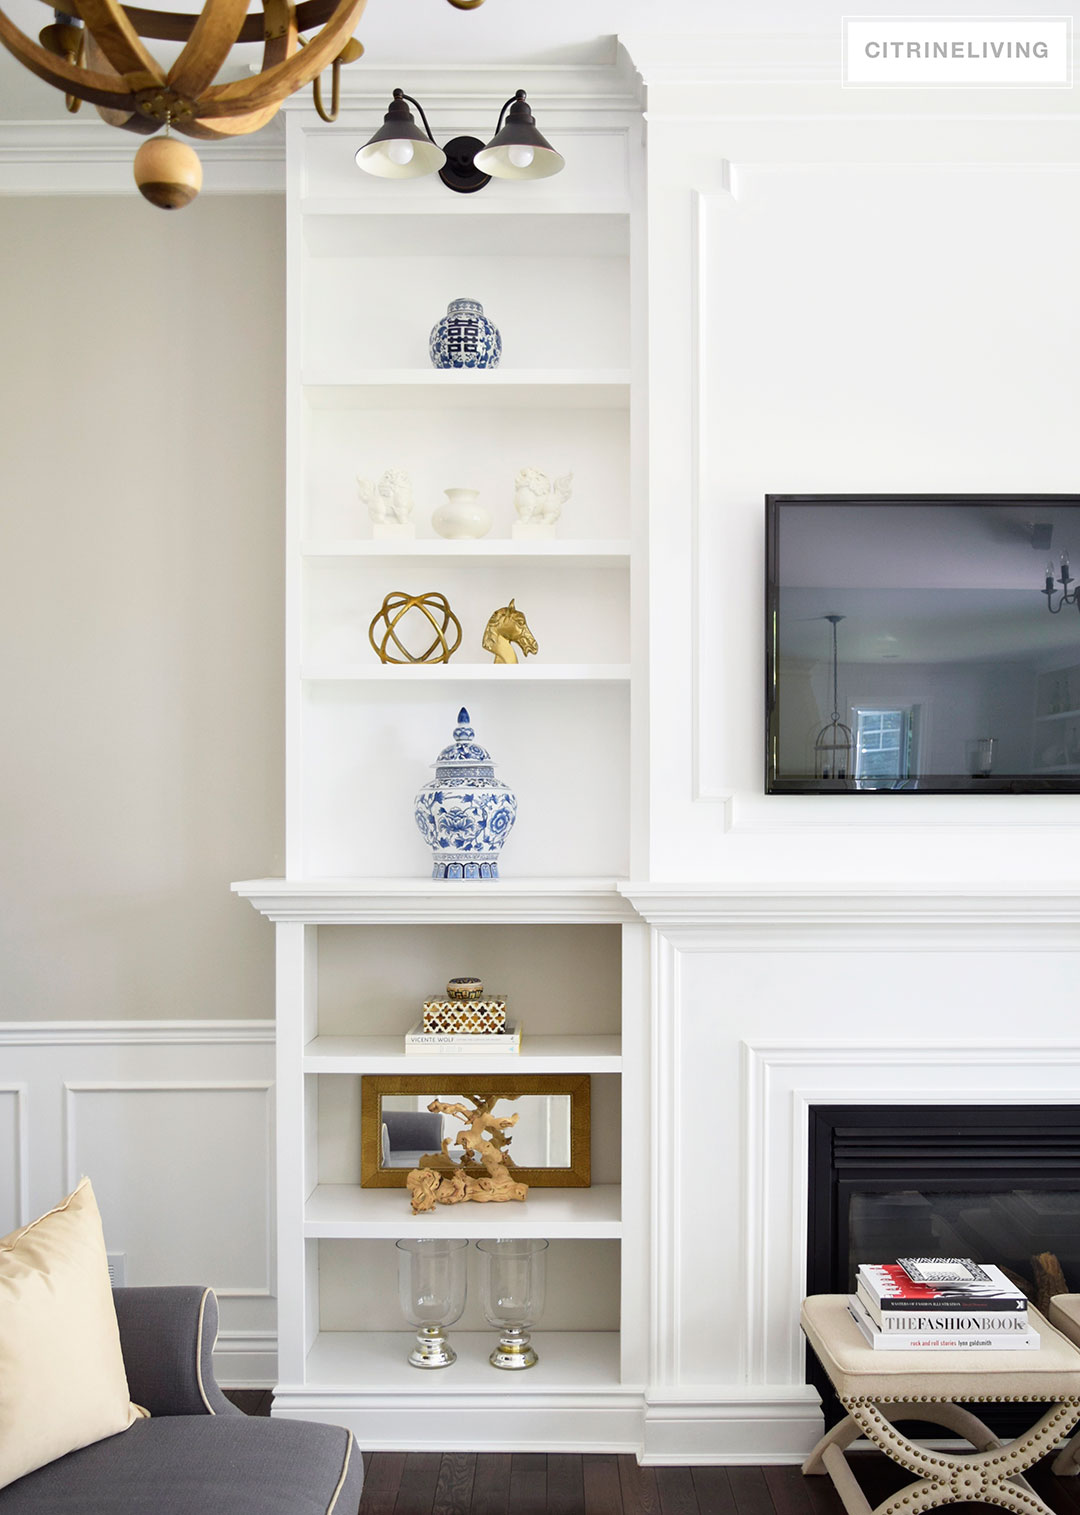 There are some small details that we added, which have huge impact in the overall look. I’m all about the details, they can make or break any design, so it’s very important to pay attention to even the smallest ones. It was tricky to shoot this, but you can see there’s a small detail molding we added around the box the light is installed in. Our home has more traditional style moldings and I wanted to make sure to compliment them, so this piece would fit with the rest of our home.
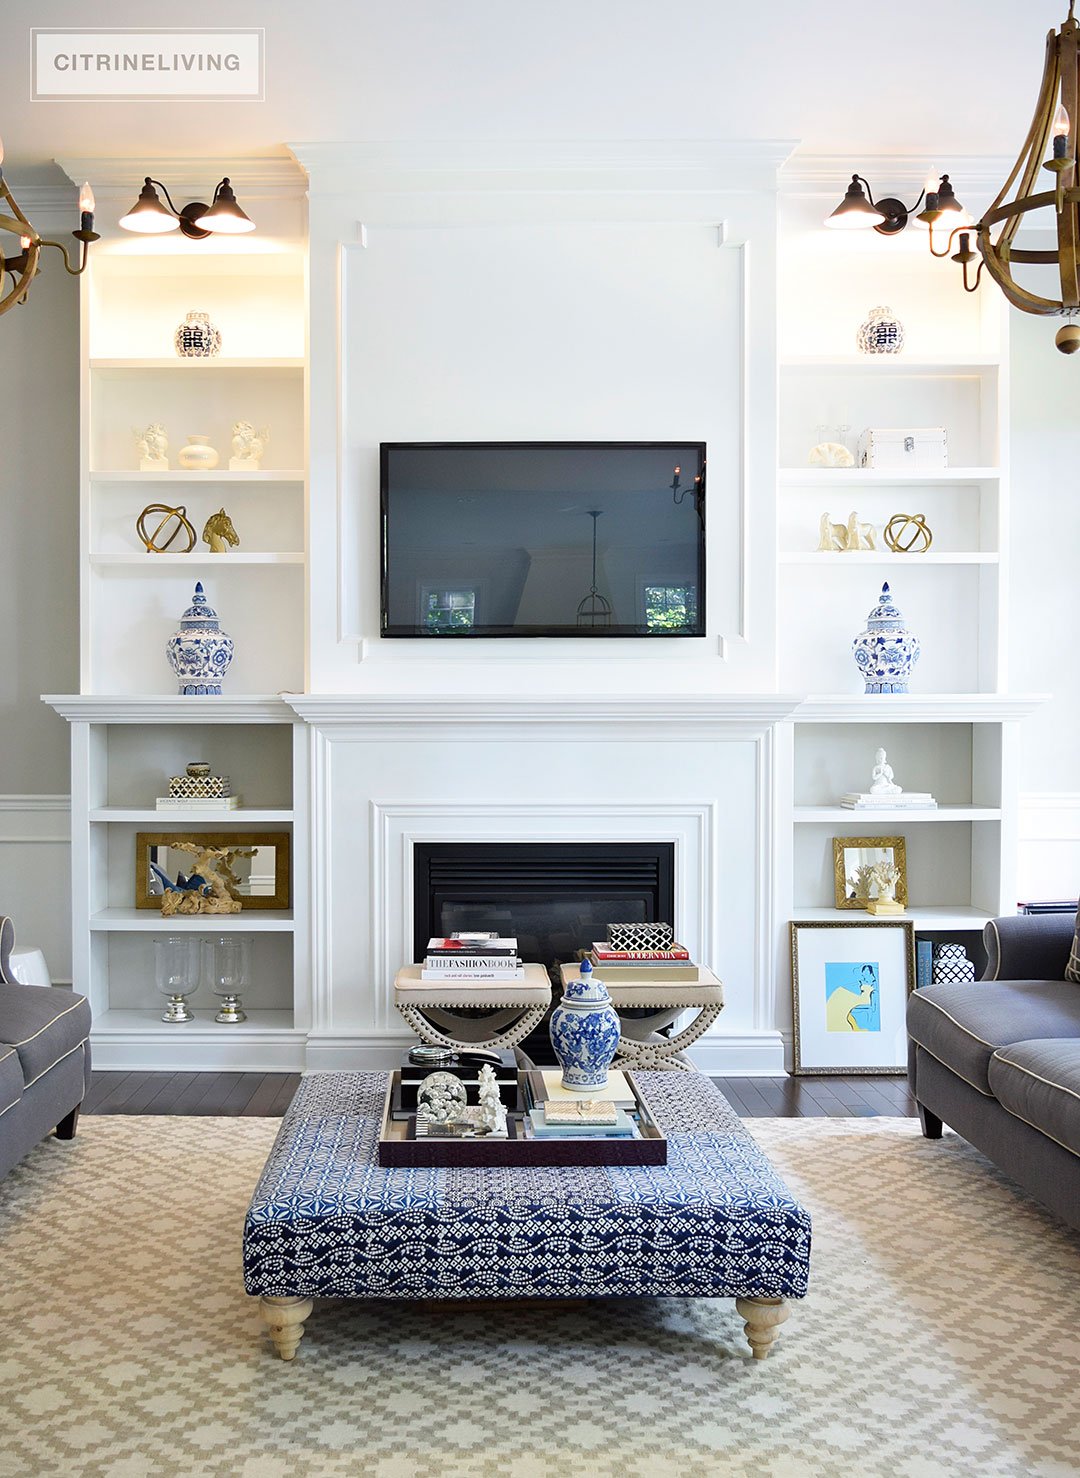
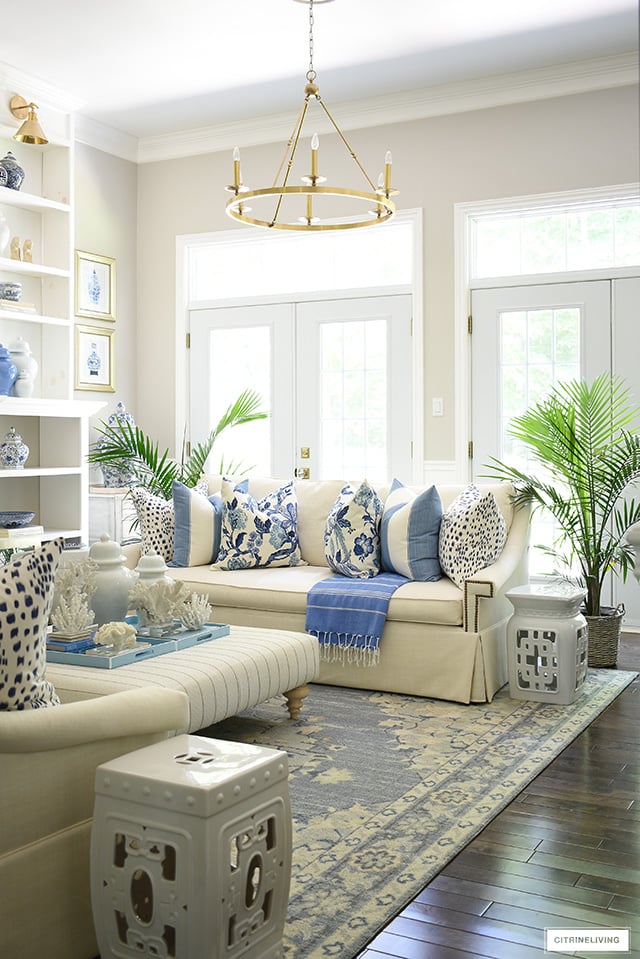
Another very important element is the molding on the center wall around the TV. Originally, we were using a simple square design, to repeat the wainscotting throughout the house. Although it would have been beautiful, I wanted something a little more elegant and refined. We came up with a regency inspired design, to echo the pattern in some new pillows I recently purchased for this space, and to also reinforce the chinoiserie accessories, like my ginger jars and foo dogs.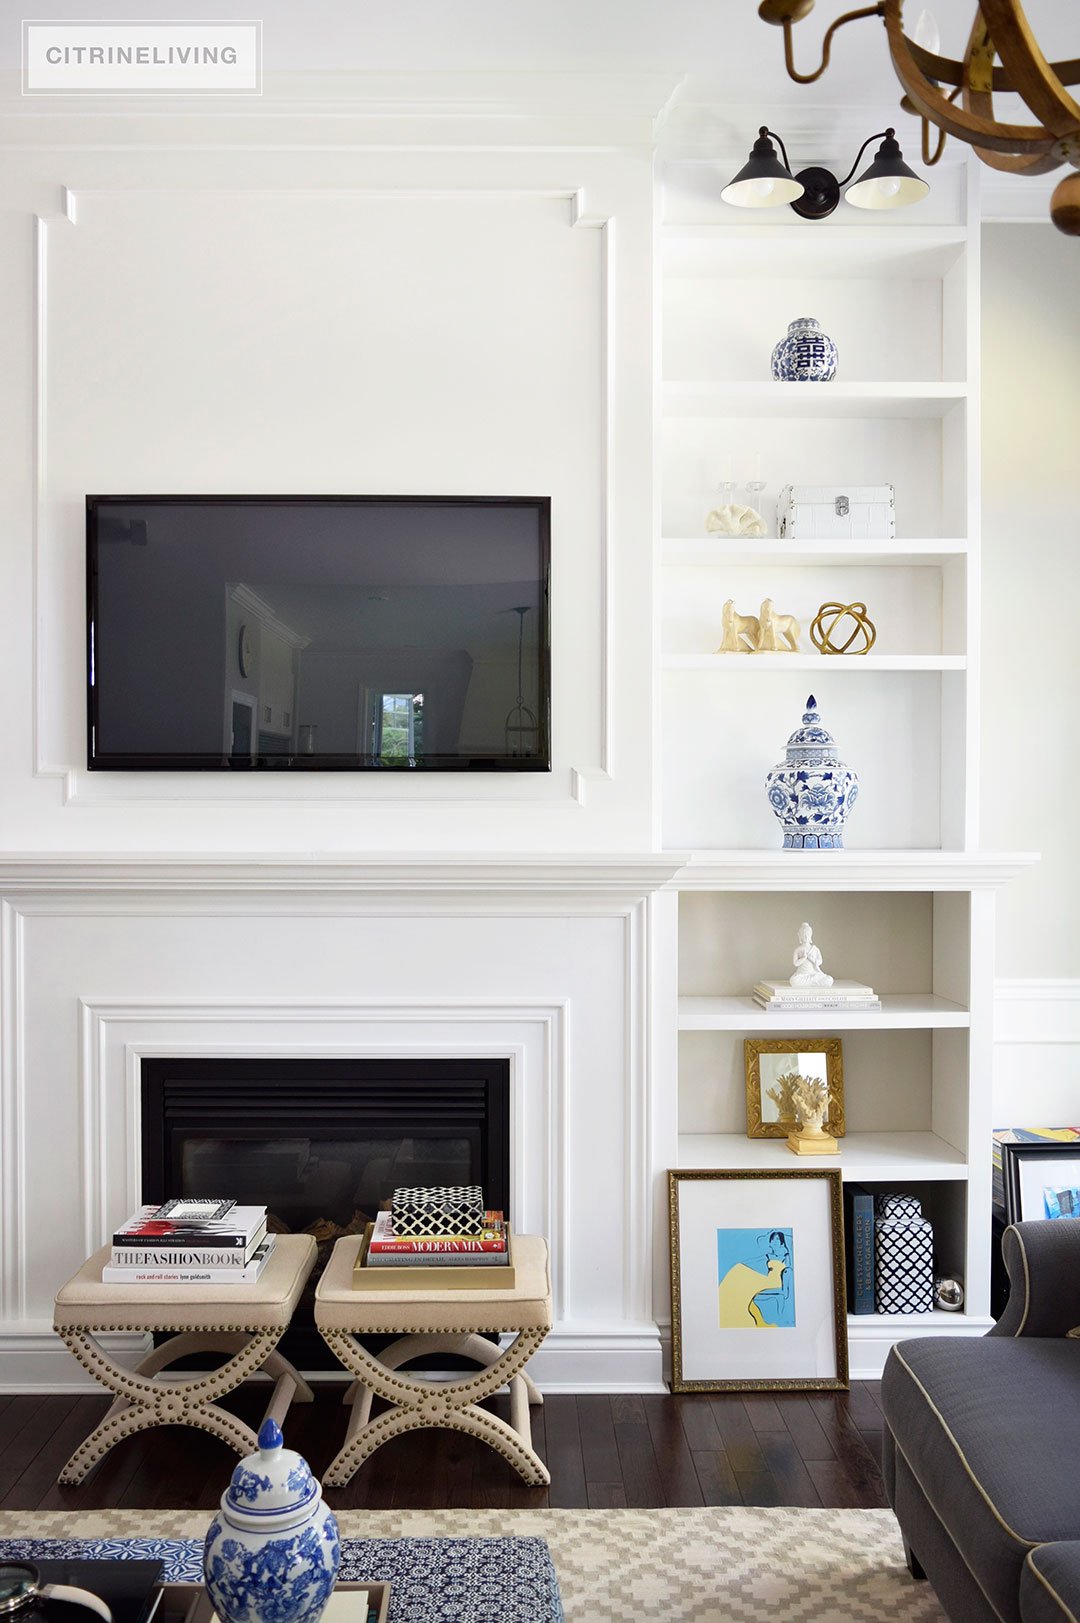 GET THE LOOK OF MY SHELVES :

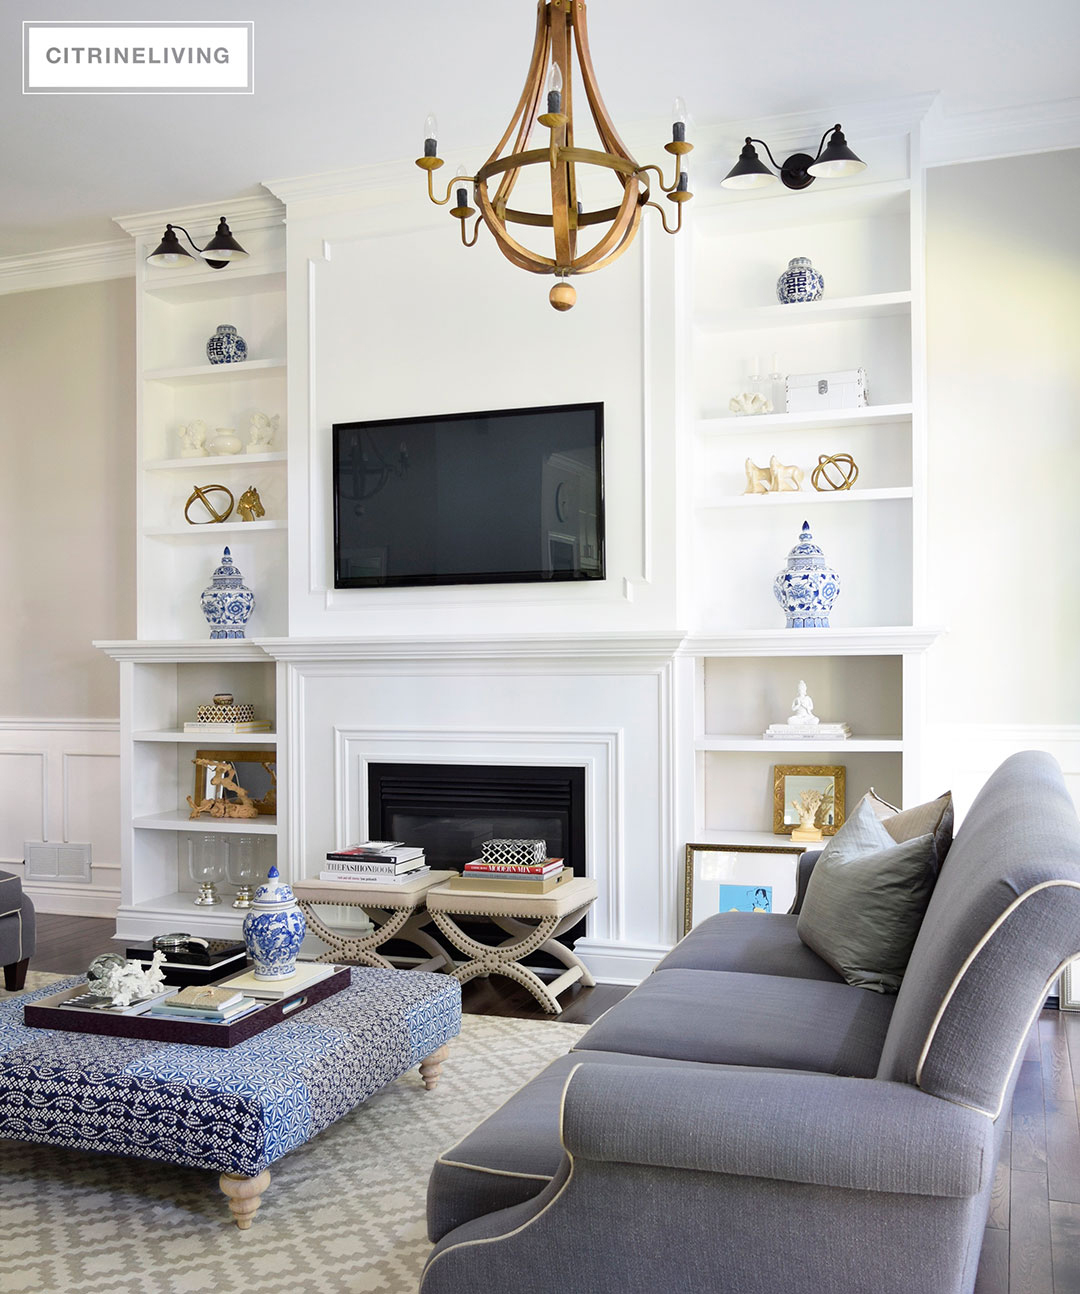
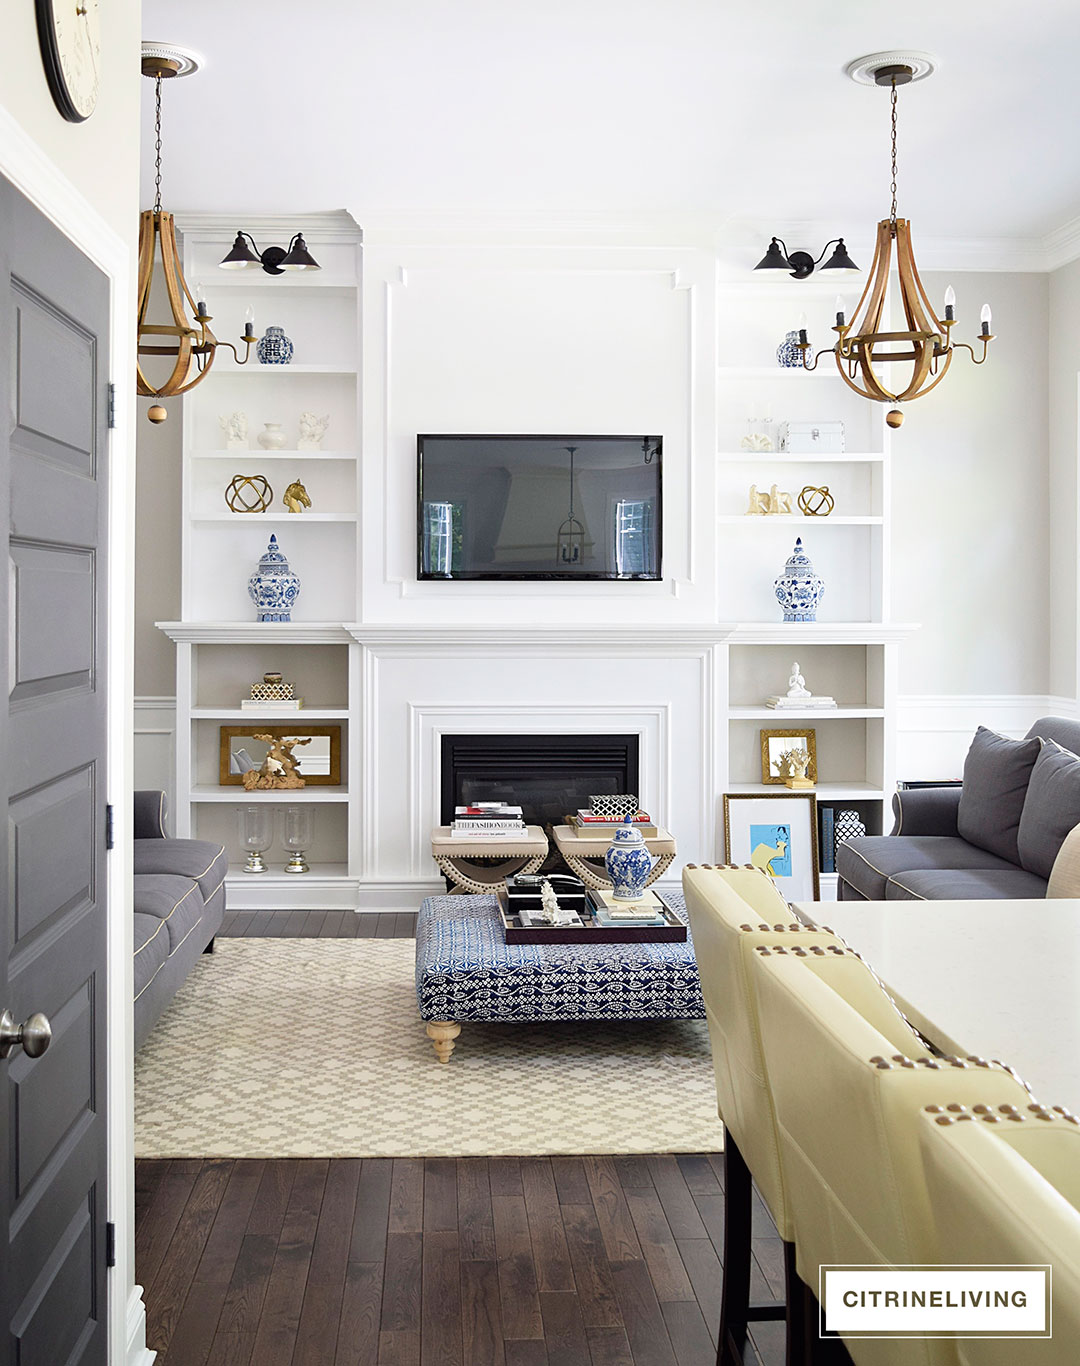
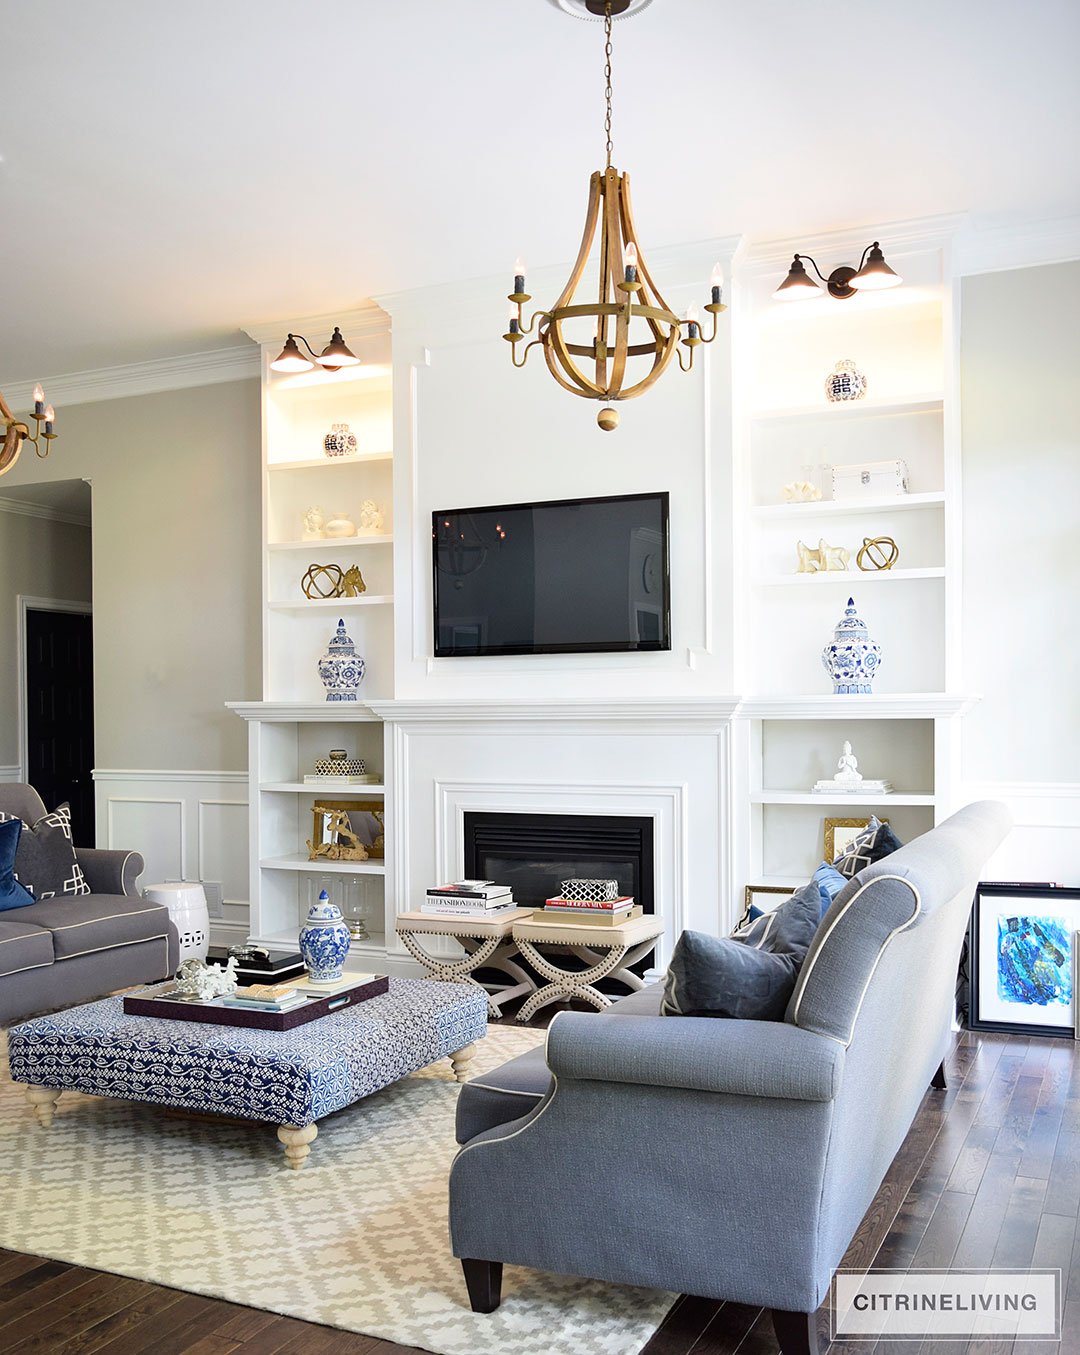
 Our chandeliers aren’t centered on the fireplace and it’s very hard to photograph the whole space from the front without something covering something else! I tried to do my best in the shot below.
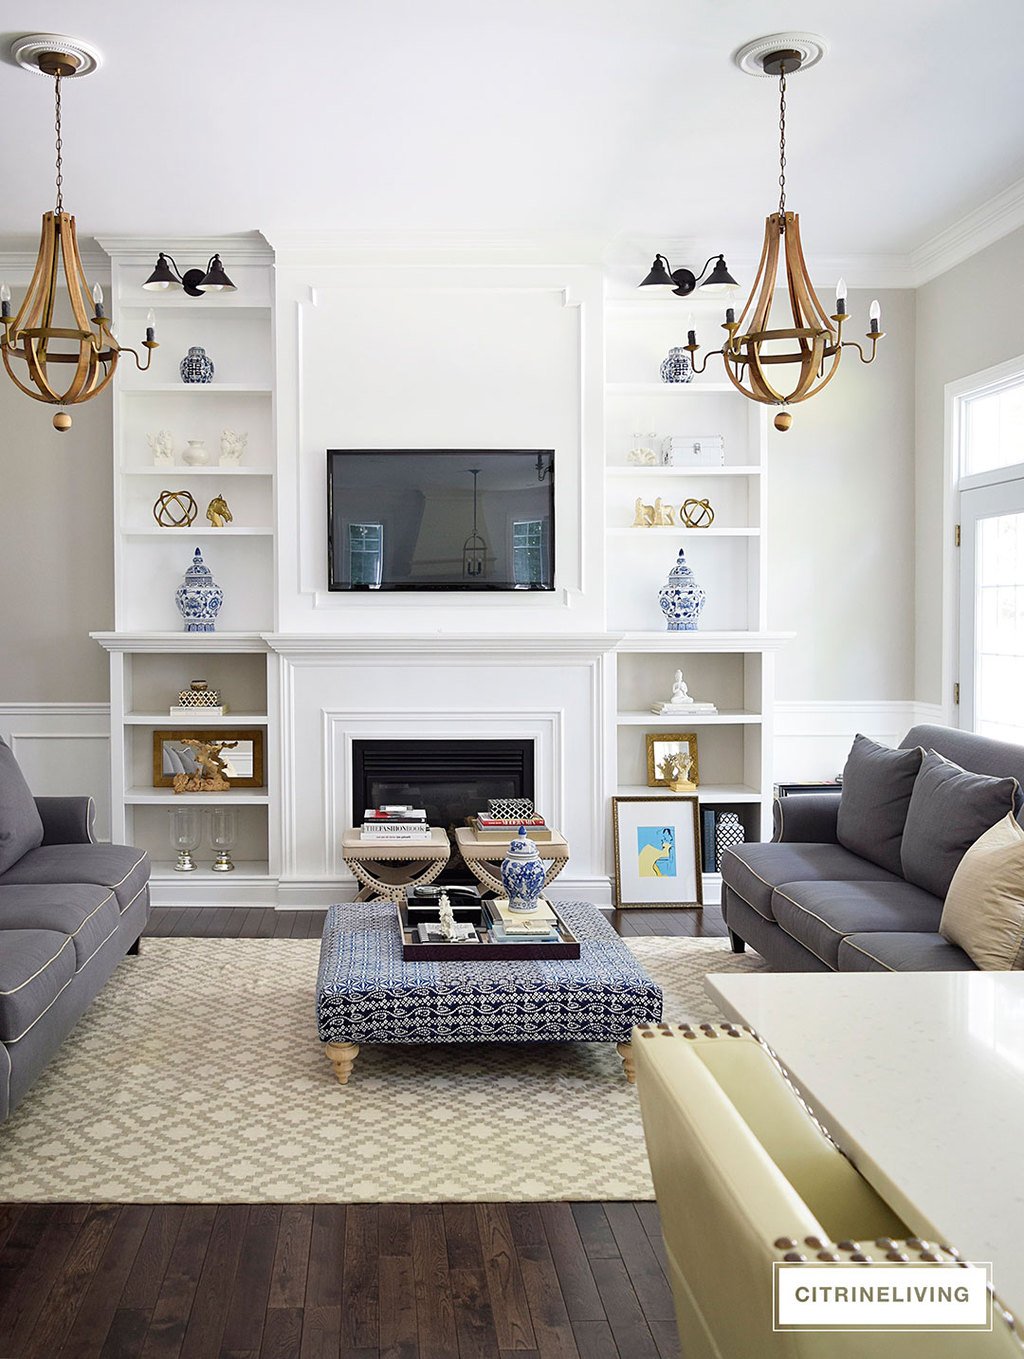
Here are some more shots with the lights on – it’s daytime, but you still get the feeling that the lighting creates. I’m so in love.
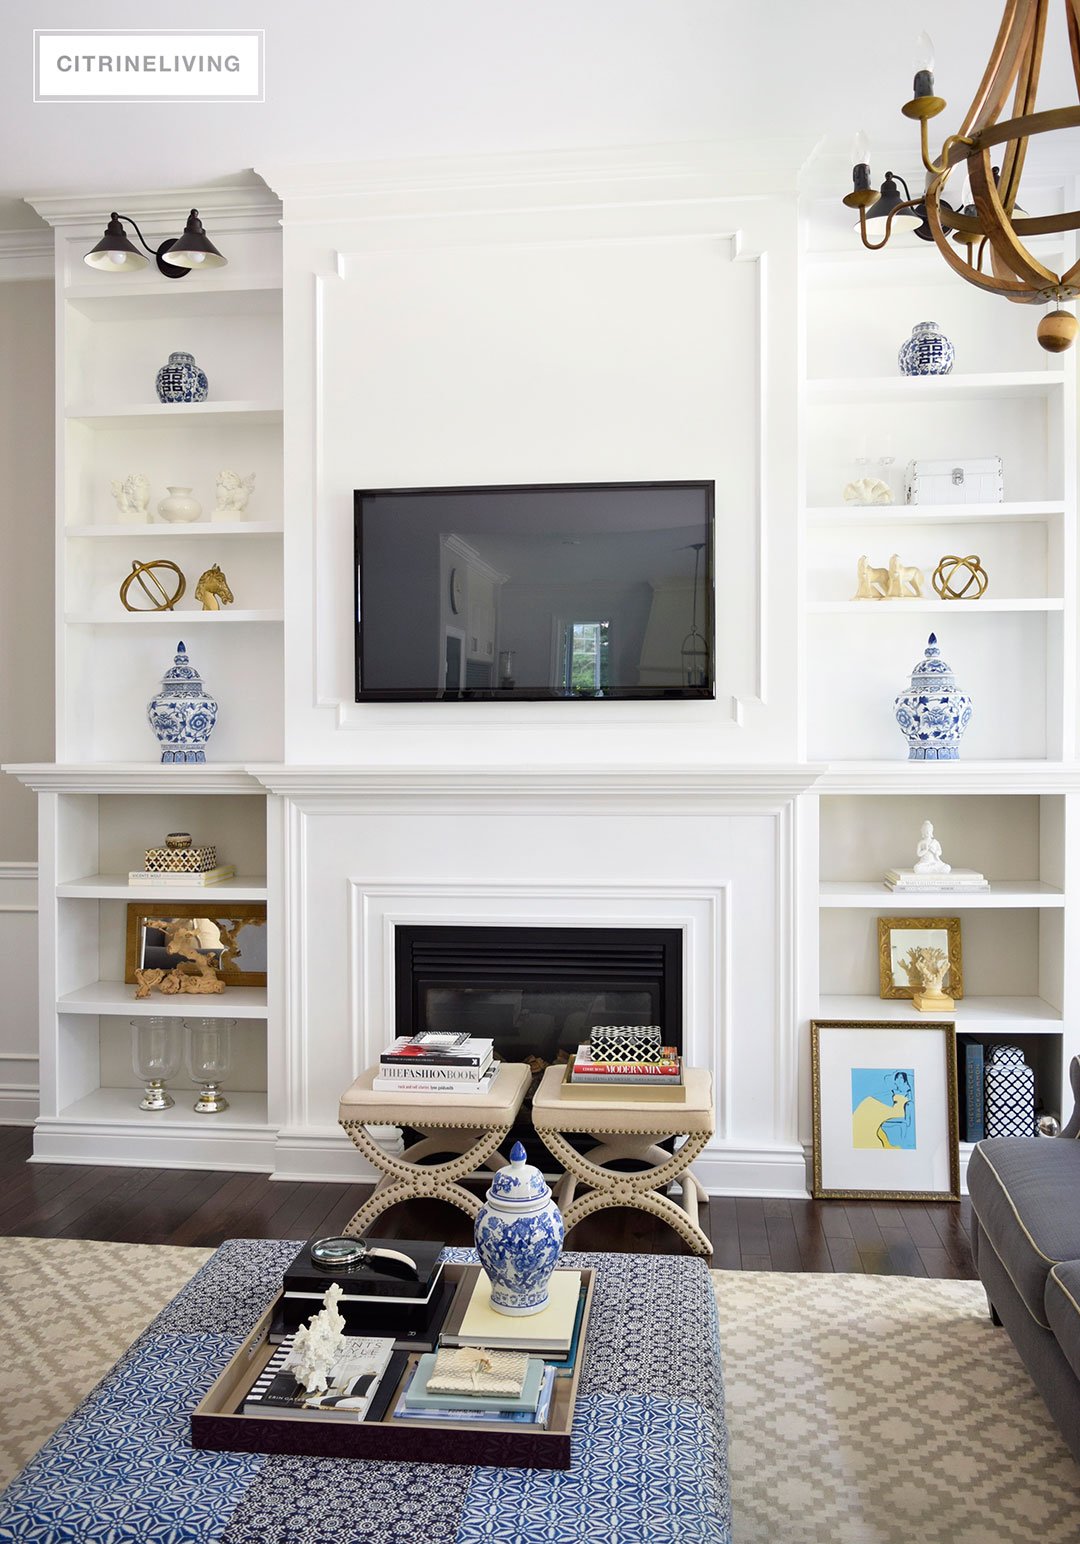
 We really could’t be happier with how our bookshelves turned out, it’s as though they’ve been here from the very beginning. We’re so thrilled with the design, the scale and the fact that the details came out just as we envisioned. With some hiccups along the way, it took two weekends and a few weeknights, but it was so worth it.
The cost was under $400 in total – yes, in total! I promised a how-to post when I shared our kitchen shelf last time, and I still haven’t done that yet…I snapped a bunch of progress shots as we were building and I will share them, so you can have an idea of how we created these. I promise, I will try to get that up soon!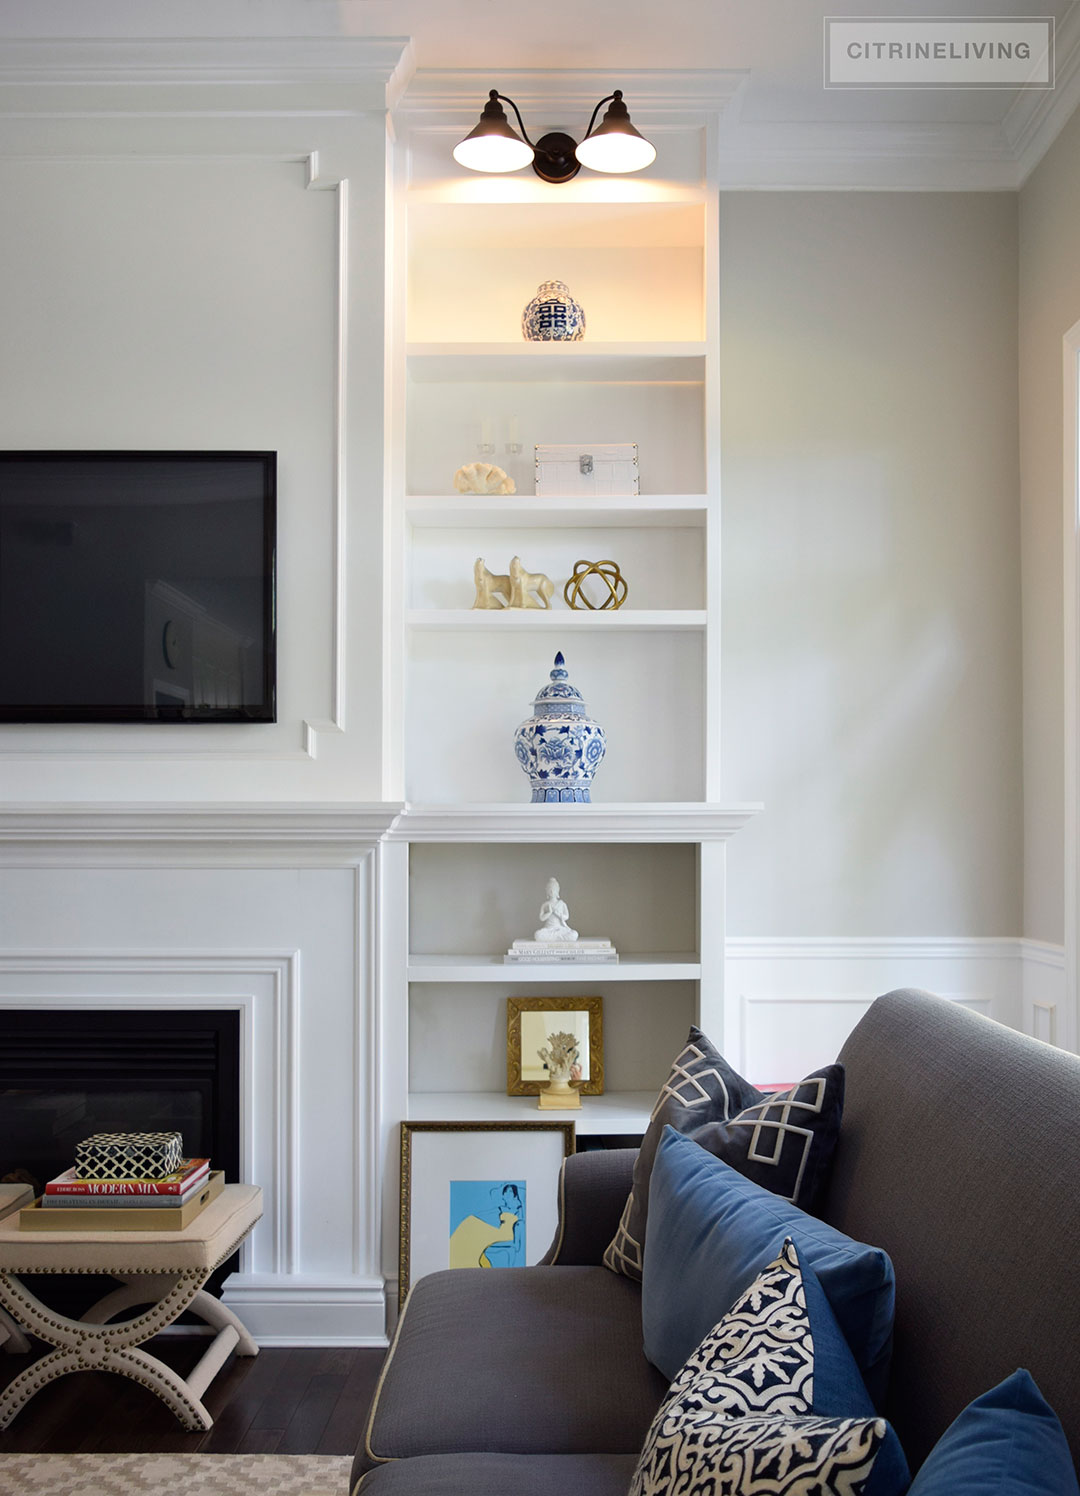
GET THE LOOK :
I hope you like how these turned out as much as we do! I want to hear what you think – leave me a comment below!
Such a great question! Our upper shelves are about 10, so you can totally make it work!
How deep are the shelves? I want to do a similar thing but the space only allows for shelves about 10 inches deep. Would that be deep enough to be useful or would it look awkward?
Thank you! I’m hoping to post in the next couple of weeks – it’s more of a progress post but I’ll do my best to explain the steps! Thanks for stopping in!
These are gorgeous! When do you think you will have the steps posted?
Carrie, I get that question a lot! I’ve promised a how to, or progress post, and I hope I get to do that soon for you as well as others! Thank you for the question and for stopping by! xox
Do you have step by step instructions on how to build the shelves? I’d like to do the same thing with my fire place. They look amazing!
Hi Angela! Sure! The main color is Collingwood by Benjamin Moore :)
I’d love to know the wall paint color please!
Love your look! What paint colors did you use in your living room?
I love it absolutely gorgeous! It can be tricky trying to figure out the whole space. I’m currently working on mine. Where did you find the chandeliers I been trying to find something like that for my LR.
Thank you, Vicky – I’m thrilled that you like my blog and Instagram :) So happy you’re here! Thanks for your support!! xo
Izab, I love that you love them and can’t wait for you to see them in person! Vertical space is so amazing! Thanks for popping in! xoxo
Shauna, thank you! I’m so happy you like them and my trim! I think it’s my favorite detail! xoxo
Thanks Trace – it helps lol! love you! xo
Summer, thank you! It was a lot of work and we hit a few bumps, but it was so worth it!! Thank you for the love!! xoxo
Thank you so much, Maria! They really make such a big difference and I’m so glad yo like the lights too! xox
Omg Tam! They look fantastic! That wall was meant for those built-ins! Love the height and especially love the black finish on the lights! Well done my friend. ?
Oh my goodness they turned out perfectly, Tam! They did such a good job on them! I can’t wait to have a “permanent” house to do some built ins. And I love how you styled them. Not too busy, just perfect! So pretty! xoxo….
Tam I’m a shelf/ fanatic myself. So ideal that your husband is this handy :)
Love it all !!
LOVE LOVE LOVE!!! what a difference those make and just draws your eye up? Also love the trim detail around the tv. Well done my friend!??❤️
So beautiful Tamara! i can’t get over how much height these bookshelves add to your space. simply gorgeous. again.
i just Love it!! we love improvements… keep them coming;) Izab
They are gorgeous! They do like they have always been there. Love your blog & Instagram . I have just recently found you. Vicki
Marty, I can’t tell you how happy it makes me that you think so! It feels like a different room but also like they’ve always been here! Thanks for visiting :) xoxo
Thank you Bree!! I’m so happy you approve – you know how much I admire you and your mad design skills!! Thanks for popping in! xoxo
Oh wow, the bookcases are gorgeous. Taking them to the ceiling was genius.
Tam!! They make the room feel even more grand!! Bravo my friend…I knew it was going to be amazing!!!
❤️
Kel that means SO much to me!! Thank you! So happy you like them :) xoxo
Tam, I don’t even know what to say. Absolutely incredible!!